How to Prepare for Spray Foam Installation in Oklahoma
TL;DR
Preparing for a spray foam installation takes a little planning, but it is straightforward. Clear the workspace, address any existing moisture or pest issues, turn off your HVAC system, arrange to be out of the home for at least 24 hours after application, and know what to check when you return. In Oklahoma, scheduling your project during spring or fall (when temperatures are between 60 and 80°F) gives your crew the best conditions for adhesion and curing. The EPA recommends that all occupants and pets vacate during installation and for a period of time after. This checklist walks you through everything before, during, and after so there are no surprises on installation day.
Why Preparation Matters
Spray foam is not like rolling out fiberglass batts. It is a chemical application that requires clean, dry surfaces for proper adhesion, controlled conditions for consistent curing, and a clear workspace for the crew to move efficiently. The foam expands and bonds within seconds of contact, which means anything it touches that should not be foamed (ductwork openings, electrical panels, windows) needs to be masked beforehand.
A well-prepared workspace means the crew spends their time spraying rather than moving your belongings, working around obstacles, or dealing with conditions that should have been addressed in advance. It also means better results: foam adheres more reliably to clean, dry surfaces, cures more consistently in the right temperature range, and covers more evenly when the crew has unobstructed access.
One to Two Weeks Before Installation Day
Schedule During the Right Season
Oklahoma's climate gives you two ideal windows for spray foam installation: mid-spring (late March through May) and early fall (September through October). These are the months when ambient temperatures consistently land in the 60 to 80°F range that foam manufacturers recommend for optimal adhesion and curing.
Summer installations are common and work fine (Rocking Rad sprays year-round), but Oklahoma's July and August heat can push attic temperatures past 150°F, which requires the crew to manage substrate temperatures more carefully. Winter installations are possible when daytime temperatures stay above 40°F, but cold substrate surfaces slow the chemical reaction and can affect foam quality if not managed properly.
If you have flexibility in timing, spring and fall give you the most favorable conditions and the added benefit of having the work complete before peak heating or cooling season.
Address Existing Problems First
Spray foam should go onto a clean, sound substrate. If your attic has any of the following issues, they need to be resolved before the foam crew arrives:
Active roof leaks must be repaired. Spraying foam over a wet or actively leaking surface results in poor adhesion, and the foam will trap moisture against the decking, which accelerates rot. Your roofer should complete repairs before insulation is scheduled.
Rodent or pest contamination requires remediation first. If your existing insulation is contaminated, a full attic restoration (removal, sanitization, and pest exclusion) should be completed before new foam is applied. Spraying over contaminated material traps the contamination in place.
Mold on framing or sheathing should be treated by a qualified remediation professional before the foam goes on. Foam sprayed over active mold seals the mold against the wood without killing it.
Electrical or plumbing work that requires accessing the cavities being foamed should be completed first. Once foam is applied, accessing wiring, junction boxes, or plumbing behind it becomes difficult and expensive. Coordinate with your electrician and plumber so their rough-in work is done before the foam crew arrives.
Clear the Workspace
The crew needs unobstructed access to every surface being sprayed. Depending on where the foam is going, this means:
For attic projects: Remove everything stored in the attic. Boxes, holiday decorations, luggage, and anything else sitting on the attic floor needs to come down before installation day. The crew needs to see and reach every inch of the attic floor, rim joists, and roof deck.
For crawl space projects: Clear the crawl space access. If your crawl space entry is inside a closet, empty the closet. If it is an exterior hatch, make sure the path is clear and the crew can get equipment through.
For wall projects (new construction or renovation): Ensure the wall cavities are open, clean, and free of debris. Any blocking, fire stops, or framing modifications should be complete.
For metal buildings and shops: Move vehicles, equipment, and stored materials out of the spray zone or cover them completely with plastic sheeting. Overspray is a reality with spray foam, and anything within the building that is not being foamed needs protection.
Arrange to Be Out of the Home
The EPA is clear: building occupants and other workers not involved in the spray foam installation should vacate the premises during and for a period of time after application. Most manufacturers recommend at least 24 hours before unprotected re-entry.
Plan to stay somewhere else for the night of installation day. Take your pets with you. If you have fish tanks, birds, or other animals sensitive to air quality, discuss this with your contractor in advance so they can advise on ventilation and timing.
For homes where only the attic or crawl space is being sprayed (not the living space walls), some contractors may allow re-entry sooner if the treated area is isolated and ventilated. Your contractor should provide specific re-entry guidance based on the product they use and the scope of the project.
Installation Day: What to Expect
Morning Setup (30 to 60 Minutes)
The crew arrives with a trailer-mounted proportioner (the machine that heats, pressurizes, and pumps the A-side and B-side chemicals), heated hoses, and a professional spray gun. They run the hoses from the trailer to the work area and set up ventilation equipment. Make sure there is a clear path from the driveway to the work area and that the trailer can park within hose reach of the building (typically 200 to 300 feet maximum).
The crew masks off surfaces that should not be foamed: windows, doors, electrical panels, HVAC registers, light fixtures, and any exposed surfaces adjacent to the spray zone. This masking step takes time but protects your home from overspray.
Before Spraying Begins
Turn off your HVAC system. The system should not circulate air during or immediately after application. Close windows and doors in the living space if the attic is being sprayed (to prevent fumes from entering the home through the air handler). The crew will handle ventilation in the work area with fans and exhaust equipment.
Leave the house before spraying begins. The crew wears full personal protective equipment including supplied-air respirators and chemical-protective clothing per EPA and SPFA guidelines. Occupants without this equipment should not be in or near the work area.
Application (2 to 6 Hours Depending on Scope)
A typical residential attic takes 3 to 5 hours to spray. Crawl spaces are usually faster (2 to 3 hours). Metal buildings vary by size. The foam is applied in lifts of 1 to 2 inches per pass, with each lift curing before the next is applied. The crew works systematically across the space, covering every surface specified in the scope of work.
You do not need to be present during application. In fact, you should not be. The crew will contact you when the work is complete.
Cleanup and Departure
After spraying, the crew removes masking materials, trims excess foam where needed (especially at stud faces if drywall will follow), and cleans up overspray. They should do a final walkthrough of the work area before leaving.
After Installation: Re-Entry and Inspection
When to Return
Follow your contractor's specific re-entry guidance. The general standard is at least 24 hours after the final foam application. When you return, open windows in the living space to ventilate. A slight odor in the first day or two after re-entry is normal and should dissipate quickly. If you smell a strong, persistent chemical odor 48 hours after installation, contact your contractor immediately as this could indicate an off-ratio application that needs evaluation.
What to Check
Walk the work area (if accessible) and look for:
Consistent coverage. Every surface specified in the scope should be covered with uniform foam. No bare spots, no gaps around penetrations, no areas where you can see the substrate through the foam.
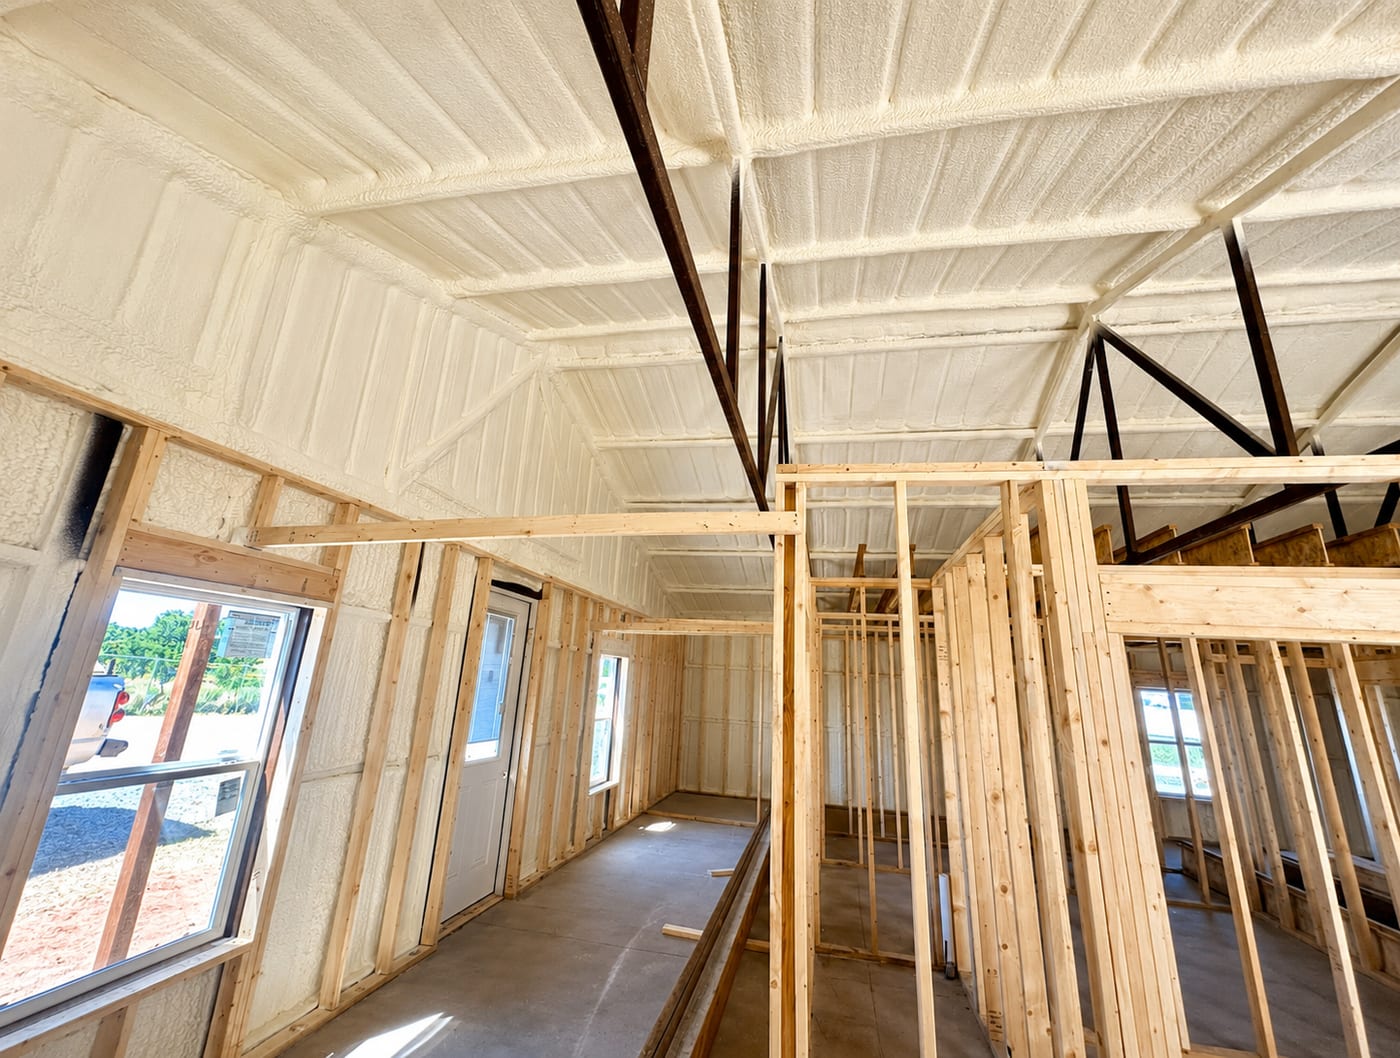
Consistent color. Properly cured foam is cream or off-white and uniform in color. Dark discoloration, amber streaks, or areas that look significantly different from the rest may indicate application issues. For more detail on what to look for, see our guide: Common Spray Foam Installation Mistakes and How to Spot Them.
Consistent texture. Closed-cell foam should be rigid and firm. Open-cell foam should be soft and springy. Foam that is sticky, gummy, or crumbles when touched is not properly cured.
No persistent odor. A faint smell during the first 24 to 48 hours after re-entry is normal. A strong chemical odor that does not dissipate with ventilation is not normal and should be reported to your contractor.
Post-Installation Blower Door Test
If your contractor offers blower door testing, a post-installation test is the best way to verify that the air sealing worked. The test produces a measured number (ACH50) that you can compare against your pre-installation baseline. For new construction in Oklahoma, a blower door test is required by the 2015 IECC and must demonstrate 3 ACH50 or less to pass inspection.
Turn Your HVAC Back On
Once you have returned and ventilated, restart your HVAC system. Change the air filter within a week of installation if any overspray particles entered the duct system during the project. Monitor your system's performance over the following weeks. You should notice more consistent temperatures, longer and steadier run cycles, and in Oklahoma's cooling season, reduced humidity.
Ready to Schedule Your Spray Foam Project?
At Rocking Rad Spray Foam LLC, we walk every customer through this preparation process before installation day so there are no surprises. We handle the masking, ventilation, and cleanup, and we walk the project with you after completion to inspect coverage and answer questions. Free on-site estimates and 0% financing available across Oklahoma. Contact us or fill out our online form to get started.
Frequently Asked Questions
How far in advance should I schedule my installation?
During peak season (late spring and early summer in Oklahoma), lead times can stretch to two to four weeks. During fall and winter, scheduling is usually more flexible. Booking two to three weeks ahead is a safe window for most residential projects. Larger commercial or agricultural projects should be discussed as early as possible to coordinate timing.
Do I need to remove my old insulation before the crew arrives?
It depends on the project. For attic floor applications where new blown-in insulation is going over existing material, old insulation may stay if it is clean and dry. For attic roof deck or wall applications, old insulation in the spray zone typically needs to be removed. For contaminated insulation, full removal and sanitization should be completed before the foam crew arrives. Your contractor will specify what needs to happen during the estimate.
Can I stay in the house if only the attic is being sprayed?
The EPA recommends vacating the entire home during spray foam application and for at least 24 hours afterward, even if the foam is only being applied in the attic. Fumes can travel through the air handler, ceiling penetrations, and attic hatches into the living space. Your contractor should provide specific guidance based on the scope and the product being used.
What if it rains on installation day?
For interior applications (attics, crawl spaces, walls), rain does not affect the work as long as the substrate is dry and there are no active leaks. For exterior applications (SPF roofing, exterior walls), rain requires rescheduling because the foam cannot be applied to wet surfaces. High humidity above 85% can also affect foam quality. Your contractor will monitor conditions and reschedule if necessary.
What should I do with my pets during installation?
Pets should leave the home along with all human occupants. Birds and fish are particularly sensitive to airborne chemicals and should be relocated before the crew arrives. Dogs and cats should be boarded or taken to a friend's house for 24 hours. Do not bring pets back into the home until the contractor confirms re-entry is safe.
How soon will I notice a difference in my energy bills?
Most Oklahoma homeowners notice improved comfort (more even temperatures, less HVAC cycling, reduced humidity) within days. The energy bill impact typically shows up on your first full billing cycle after installation. The biggest difference is usually visible on your first summer cooling bill after a spring installation, which is one more reason to schedule before Oklahoma's heat arrives.